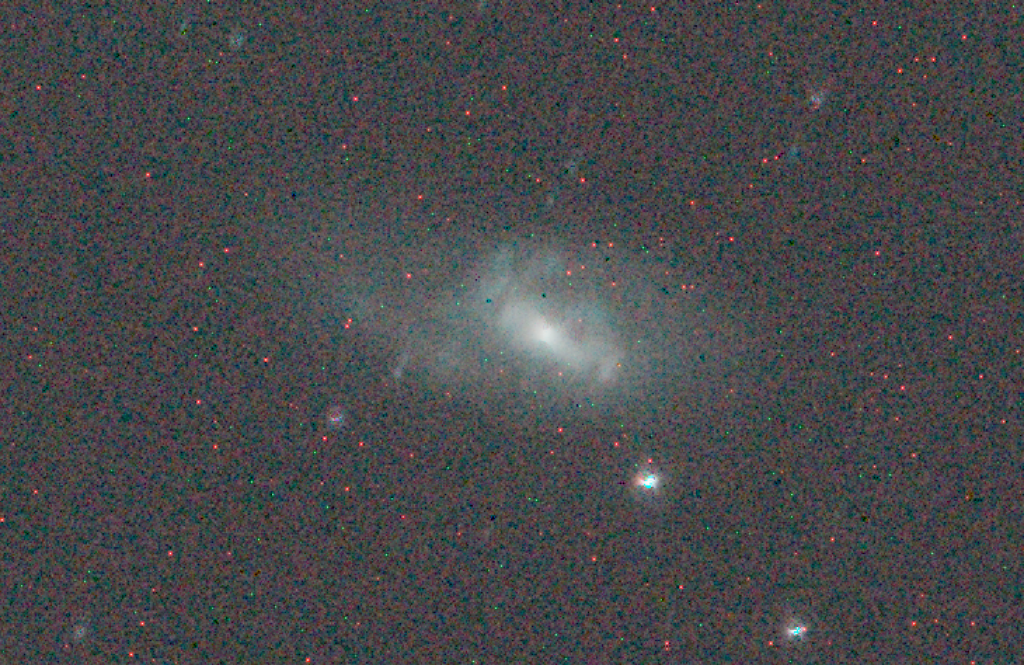
A few months ago, while testing out ways to reduce the effects of light pollution on pictures taken from my downtown “observatory”, I took a few subframes of the Leo Triplet (M 65, M 66 and NGC 3628) with a Baader Planetarium UHC-S filter. As the intent was just to get a first impression of the filter’s performance, I was not really worried about integration time. I only needed enough data for the galaxies to pop out of the background, so I ended up taking just 11 subframes of 300 sec. each.
I used for the purpose my standard imaging setup: a Nikon D7000 at the prime focus of a GSO Newton 200mm f/4, and a QHY 5L-IIm on a TSO 80mm for autoguiding. Everything mounted on a Syntha EQ-6.
A few days after acquiring the data, I applied my standard pre-processing workflow in PixInsight and realised that Star Alignment was locking on to hot pixels instead of actual stars! The resulting image after integration was unusable.
Such outcome was especially surprising as – contrary to almost all other processes in PixInsight – Star Alignment had always worked flawlessly without any need to fiddle around with the default settings!
Understanding the Problem
I immediately entered “troubleshooting mode” and, as I went down the branches of my fault tree, I quickly discovered one important contributing factor: the hot pixels I could see in the lights were not present in the master dark. This was very strange as the darks were taken at the same temperature, ISO, integration time and within 24h of the lights.
I played around with the calibration of the individual darks (bias subtraction), their integration into a master dark as well as with the calibration of the lights but to no avail: no matter what I did the hot pixels remained!
The only thing left to do was to consider them as a “feature” of my calibrated lights and understand why Star Alignment was misinterpreting them as stars. This was really all I needed as – because of misalignment due to differential flections – once the lights were correctly aligned, the pixel rejection algorithm in Image Integration would take care of eliminating them from the final image.
It took me some digging and, finally, an unexpected culprit emerged: debayering.
Debayering
In order to understand the issue, we need to take a step backwards and look at how colour cameras work.
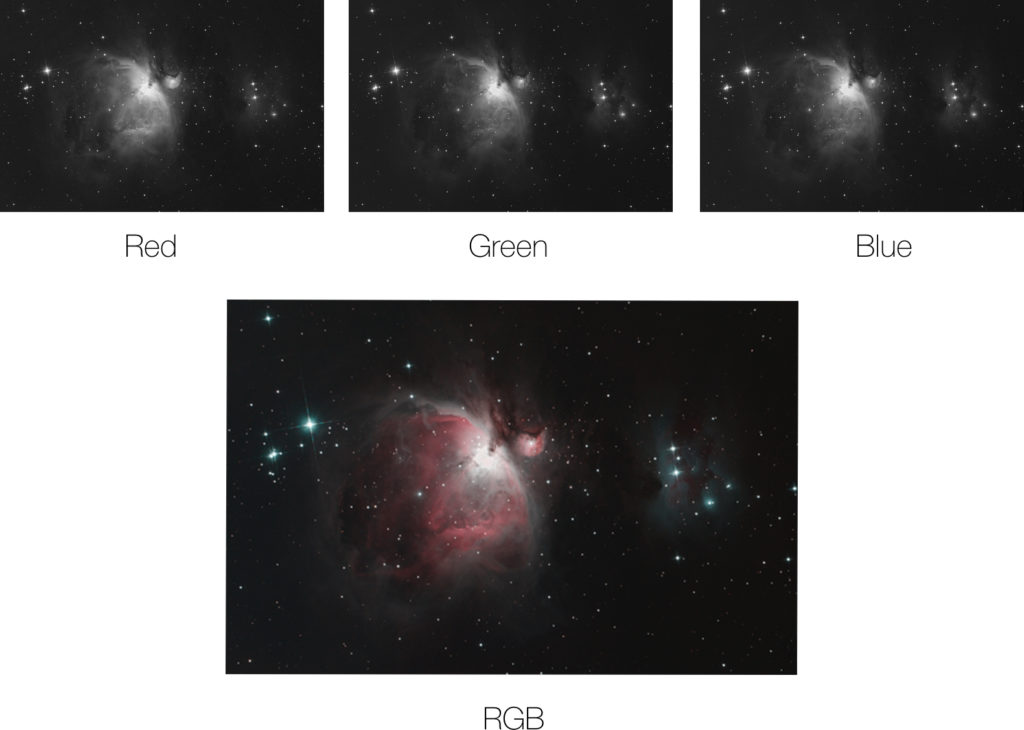
A colour image can be thought as a grid where the value of each element (the pixel) is represented by three numbers: the intensity, respectively, in Red (R), Green (G) and Blue (B). In other words, a colour image is the “superimposition” of three images representing respectively the red, green and blue channel.
How are those individual components captured? In principle, the sensors used in digital cameras – be them CCD or CMOS – are unable on their own to “extract” colour information from the light to which they are exposed. Their detectors (the physical equivalent of the pixel) only convert photons to electrons, collect them in a “well” and, when the “shutter” closes, provide their total count. This means that, at the end of the process, the information on the original photons’ wavelength (aka their “colour”) is nowhere to be found.
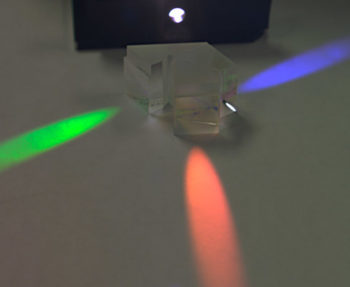
One possible solution is to use three sensors, each receiving respectively the red, green and blue component of the incident light. This approach has been adopted over the years in a number of professional camera designs and produces very high quality images. The downside is that those cameras, with their delicate arrangement of sensors and light splitting optics (typically, a trichroic beam splitter prism), are complex and, as a result, expensive. In addition, they are not a good fit for astrophotography as they would require three separate cooling elements!
A second possibility is to use just one sensor and expose it three times to the same scene: once with a red, once with a green, and once with a blue filter. This approach is regularly used in astrophotography because most astronomical objects do not change across observations. Extremely high quality images can be obtained with this technique, but at the expense of observation time, raw data volume and processing effort.
An easier – although conceptually less “clean” – solution consists in using a Bayer mask: a special Colour Filter Array (CFA) exposes different detectors (pixels) in the sensor to different wavelengths of the incident light (either the red, green or blue component). Cameras using a single sensor in combination with a Colour Filter Array are commonly known as One Shot Colour (OSC) and represent the vast majority of the consumer market. My Nikon D7000 falls squarely in this category.
The problem with One Shot Colour (OSC) cameras is that, technically, the data coming out of the sensor is still only a monochrome image, where each pixel holds only one third of the colour information coming from the area it “looks at” in the scene. Two different approaches can be adopted to fill the gaps and obtain a colour image.
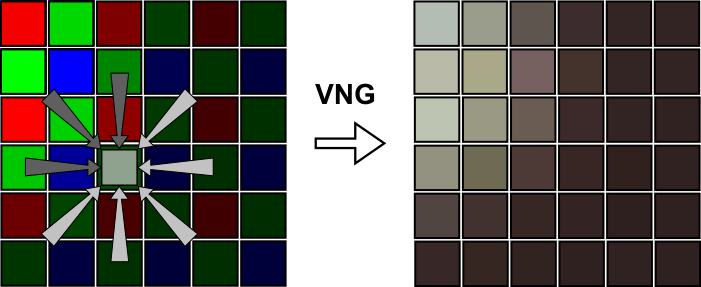
In the most common case, interpolation is used to “fill the gaps” and obtain a value for each pixel and each colour channel. Different algorithms exist, the most common in astrophotography being Bilinear and Variable Number of Gradients (VNG). The clear advantage of this approach is that the final image has the same number of pixel as the sensor has detectors: exactly the same result in terms of pixel count that would be obtained by using three sensors. The downside is that colour information has to be mathematically reconstructed, which results in loss of quality.
The other approach, known as “superpixel”, is a lot simpler: new pixels are mapped as a 2 x 2 squares in the original image. The red, green, and blue values of the original pixels within each square are used as the colour components of the new pixel. As no interpolation is applied, the final result is generally of better quality than with the other techniques. This improvement, however, is paid in pixel count: the final image has only 1/4 of the pixels contained in the original monochrome image from the sensor.
Hot Pixels and Interpolation
At this point, you might wonder: what does this all have to do with hot pixels and star alignment? The problem is that when hot pixels are not removed during image calibration, they are changed by de-bayering in ways that depend on the technique chosen. Specifically, if interpolation is used (e.g. bi-linear or VNG) what would normally be just a single bright pixel is transformed into a star like object spanning over multiple pixels! That’s when Star Alignment has a hard time telling apart hot pixels from faint stars.
As it turns out, there are at least couple of solutions. One of them consists in applying superpixel de-bayering. In this case, hot pixels are not “spread” over multiple pixels and the star alignment algorithm has absolutely no problem in telling them apart from real stars. The side effect is, of course, a smaller pixel count: the final image will only contain 1/4 of the pixels of the original subframes. This might or might not be a problem. In my typical situation, the sensor of the Nikon D7000 has so many pixels, and they are so small that I normally end up oversampling. In such case, the approach is beneficial as no real information is lost while, at the same time, less disk space is used and all processes run a lot faster. There will be, however, cases where losing so much resolution is not acceptable. That’s when the second solution comes handy.
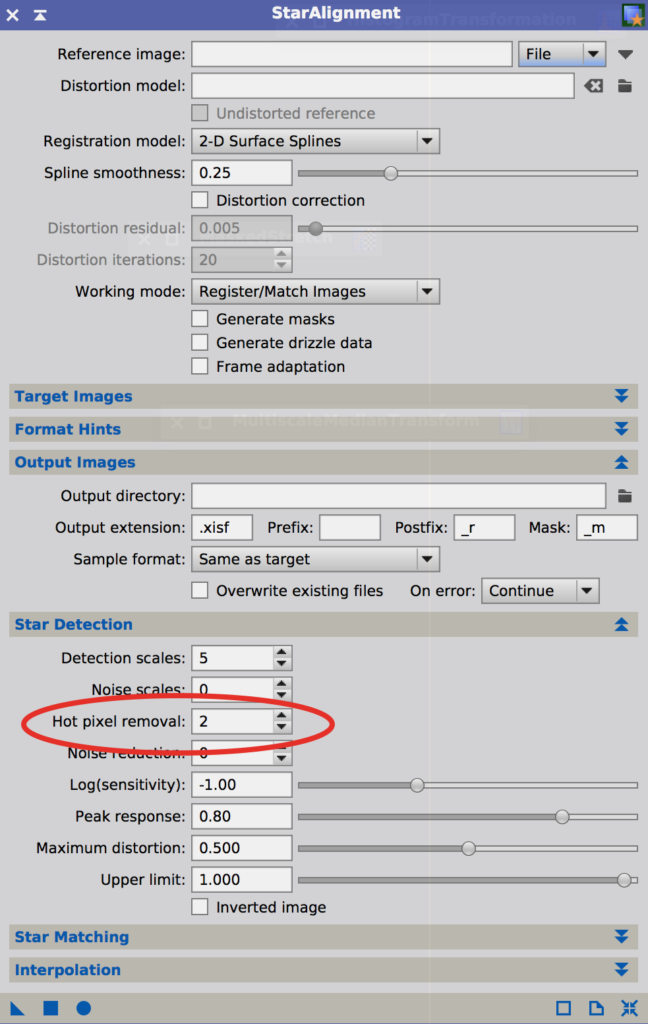
As mentioned before, Star Alignment in PixInsight normally works extremely well in its default configuration. It is possible, however, to tweak some of its parameters to advantage. Specifically, in the “Star Detection” section it is possible to adjust “Hot Pixel removal”.
The PixInsight Reference Documentation describes this parameter, as follows:
This parameter defines the radius of a median filter applied before structure detection. The default value is one pixel. For radii larger than one pixel, circular structuring elements are used. Median filtering is extremely effective to remove hot pixels, which otherwise may fool the star matching routine if they are detected as stars. If you set this parameter to zero, no hot pixel removal will be applied.
It comes from this definition that increasing the value of “Hot Pixel removal” should help with the handling of hot pixels “spread out” by de-bayering. As a matter of fact, just setting the value to 2 works very well in most cases.
Conclusions
Hot pixels are an annoying reality in astrophotography. A lot can be done to remove them already during image calibration. However, enough of them can still “survive” to make our life complicated during star alignment and post-processing. The two solutions presented above work well in those situations when hot pixels are mistakenly considered stars by the Star Alignment algorithm. Many will probably prefer the second option as it does not affect image resolution. My recommendation, however, would be to use superpixel de-baryering as a default as long as resolution is not critical given pixel size, focal length and angular object size. Smaller subframes dramatically speed up all processes applied after de-bayering (e.g. image integration, noise reduction, sharpening, etc.) and the files will also be a lot smaller. Those are not negligible advantages, especially when using older machines with slower processors and less disk space.
One final consideration. The approaches discussed in this post only deal with proper star alignment: they do not do anything to actually remove hot pixels. In most cases, this happens automatically during image integration when a pixel rejection algorithm is selected and dithering has been performed (or differential flections are present between the autoguider and the main telescope). If those conditions are not met, hot pixels will occupy the same positions (with respect to the stars) in all the subs and they will gain as much S/N from stacking as the subject of your picture. In this case, other techniques have to be used (e.g. Cosmetic Correction).
Well done! Very clearly written and explains a little discussed issue well.